

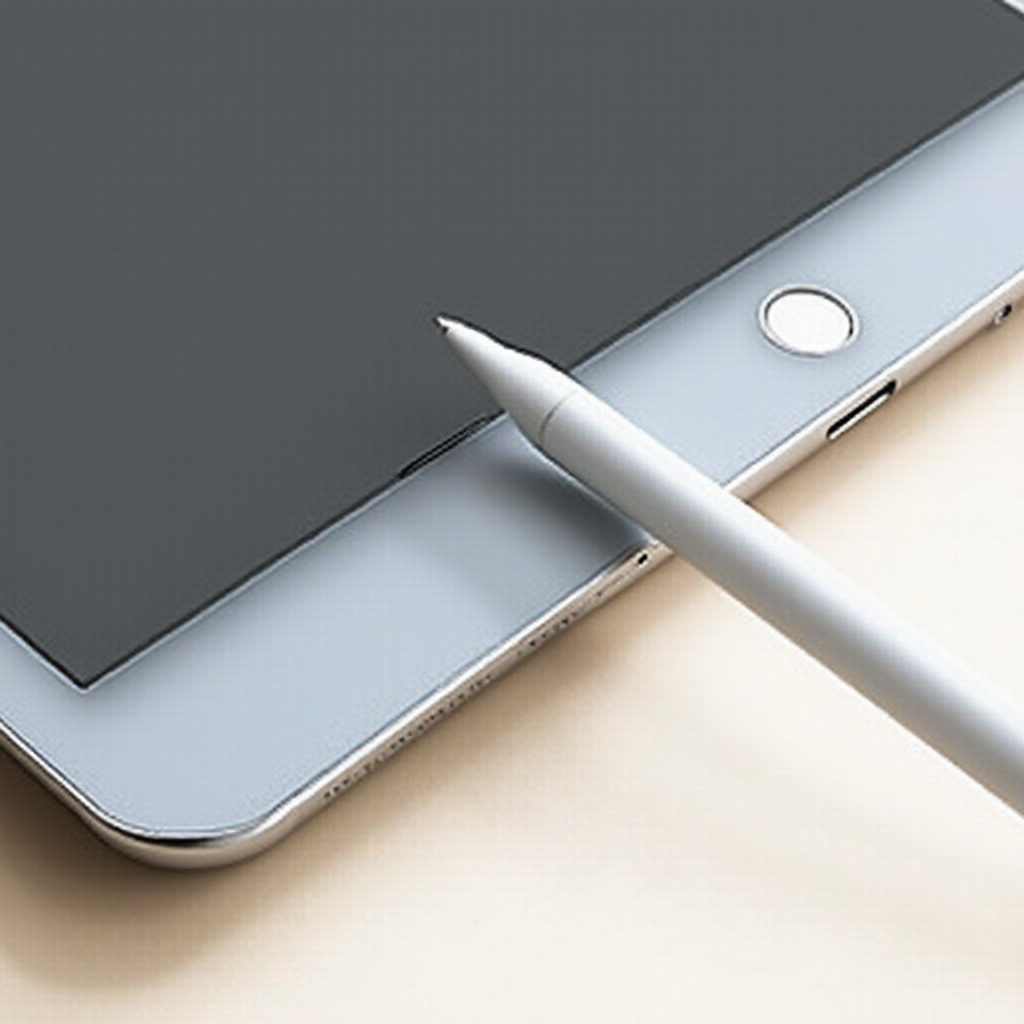
The Apple Pencil is an essential tool for many iPad users, whether you’re an artist, student, or professional. Connecting your Apple Pencil to your iPad is a simple process, but it varies slightly depending on whether you’re using a 1st or 2nd generation Apple Pencil. In this guide, we’ll walk you through how to connect your Apple Pencil to your iPad in 2025.
Why Use Apple Pencil with iPad?
The Apple Pencil brings a level of precision and fluidity to the iPad that makes it perfect for drawing, note-taking, and other creative tasks. It offers pressure sensitivity, tilt control, and a seamless integration with apps like Procreate, Notes, and more.
How to Connect Apple Pencil (1st Generation) to iPad
If you have the 1st generation Apple Pencil, it connects to your iPad via Bluetooth. Here’s how to do it:
1. Unbox and Check Your Apple Pencil
Make sure you have the 1st generation Apple Pencil and that it is fully charged. You can charge it by connecting the Lightning connector at the end of the pencil into your iPad’s Lightning port.
2. Turn On Bluetooth on Your iPad
Make sure Bluetooth is turned on in your iPad. To do this:
- Open the Settings app on your iPad.
- Tap on Bluetooth, and toggle the switch to turn Bluetooth on.
3. Connect the Apple Pencil
Insert the Lightning connector of your Apple Pencil into your iPad’s Lightning port. A pop-up window will appear on your iPad asking if you want to pair the Apple Pencil with the device. Tap Pair to connect it.
4. Start Using Your Apple Pencil
Once paired, your Apple Pencil is ready to use. You can now start drawing, writing, or navigating your iPad with ease.
How to Connect Apple Pencil (2nd Generation) to iPad
The 2nd generation Apple Pencil connects to your iPad via Bluetooth and is a bit easier to pair, as it uses magnetic charging and pairing.
1. Ensure Bluetooth is On
As with the 1st generation Apple Pencil, make sure Bluetooth is enabled on your iPad. To do this:
- Open Settings and tap on Bluetooth to make sure it’s turned on.
2. Attach the Pencil to the Magnetic Connector
The 2nd generation Apple Pencil pairs with your iPad by attaching it to the magnetic connector on the side of the iPad. This is the same place it charges. Simply place your Apple Pencil on the right side of your iPad (if you have an iPad Pro with a flat edge) and let it attach magnetically.
3. Confirm the Pairing
When you place the Apple Pencil on the side of your iPad, it should automatically pair with your device. You will see a notification on the screen confirming the pairing.
4. Start Using Your Apple Pencil
Once the connection is made, your Apple Pencil is ready to use. You can begin writing, drawing, or using the Pencil for various tasks right away.
Troubleshooting Apple Pencil Connection Issues
If your Apple Pencil isn’t connecting properly, here are a few steps to troubleshoot:
- Check Bluetooth: Make sure Bluetooth is on. If it’s off, your iPad won’t recognize the Apple Pencil.
- Charge Your Apple Pencil: A low battery can prevent the Pencil from connecting. Charge it for a few minutes and try again.
- Restart Your iPad: Sometimes a simple restart can resolve connection issues.
- Re-pair the Pencil: If it’s still not working, try forgetting the device in Bluetooth settings and pairing it again.
- Check for Updates: Make sure your iPad is running the latest version of iOS/iPadOS.
Conclusion
Connecting your Apple Pencil to your iPad is a quick and easy process, whether you have the 1st or 2nd generation model. By following these simple steps, you’ll be able to enjoy the full functionality of your Apple Pencil for drawing, writing, and other tasks. If you need more tips on using your iPad or Apple devices, visit Zatpo.com for expert advice and helpful guides.