


Photo editing can seem overwhelming, especially for beginners. However, Fotor AI makes the process simple and intuitive with its AI-powered tools. Whether you need to enhance images, remove backgrounds, or apply filters, Fotor AI allows you to create stunning visuals in just a few clicks. This guide will take you through Fotor AI for beginners, providing a step-by-step approach to using its key features.
Why Use Fotor AI as a Beginner?
1. User-Friendly Interface
Fotor AI’s drag-and-drop functionality and intuitive layout make it easy for beginners to start editing quickly.
2. AI-Powered Auto Enhancements
One-click tools help improve lighting, color balance, and sharpness instantly.
3. No Design Skills Required
Fotor AI provides pre-made templates, filters, and retouching options, making professional editing accessible to everyone.
4. Free and Affordable Options
Fotor AI offers both free and premium plans, allowing users to edit photos without high software costs.
Step-by-Step Guide to Using Fotor AI
Step 1: Sign Up and Access Fotor AI
- Visit the Fotor AI website or download the mobile app.
- Sign up for a free account or choose a premium plan for advanced features.
Step 2: Upload Your Photo
- Click “Upload Image” to import a photo from your device.
- Drag and drop files for quick access.
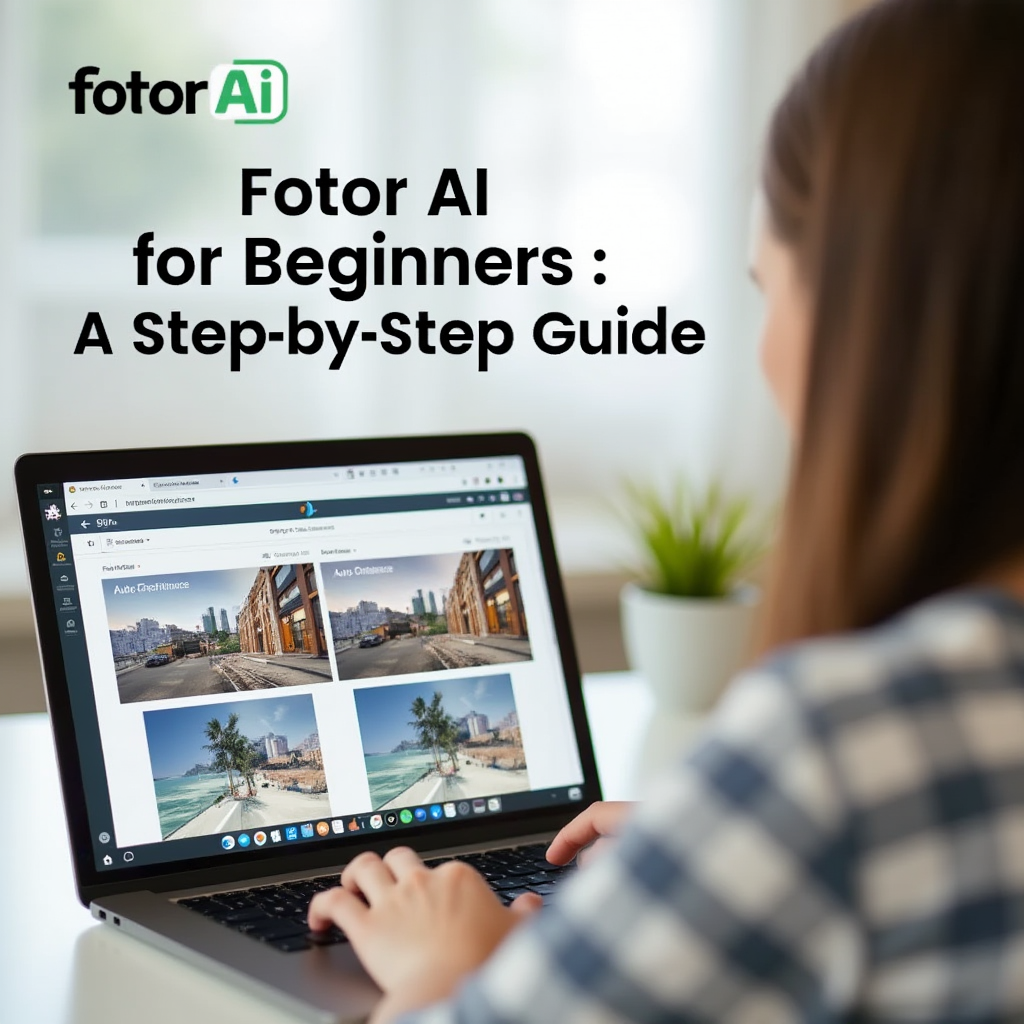
Step 3: Apply Auto Enhance
- Use the Auto Enhance button to let AI optimize brightness, contrast, and colors.
- Preview before and after to compare improvements.
Step 4: Edit and Customize
- Use filters and effects to add creative touches.
- Adjust brightness, contrast, sharpness, and saturation manually if needed.
Step 5: Remove Background (Optional)
- Click AI Background Remover to cut out subjects automatically.
- Replace backgrounds with solid colors or custom images.
Step 6: Add Text and Graphics
- Use Fotor AI’s text tool to add captions, quotes, or branding.
- Choose from various fonts and styles to enhance your design.
Step 7: Save and Export Your Image
- Download the final image in JPG, PNG, or PDF format.
- Share directly to social media or use it for personal projects.
Best Practices for Beginners Using Fotor AI
1. Experiment with Different Tools
Try out Auto Enhance, Background Remover, and Filters to understand what works best for your images.
2. Keep Edits Simple
Avoid over-editing—small adjustments can make a big impact without looking artificial.
3. Utilize Templates for Faster Edits
Use Fotor AI’s ready-made templates for social media posts, business graphics, and personal projects.
Frequently Asked Questions (FAQs)
Is Fotor AI free for beginners?
Yes, Fotor AI has a free version with essential editing tools, while advanced features require a subscription.
Can I use Fotor AI without design experience?
Absolutely! Fotor AI is designed for beginners with no prior editing skills.
Does Fotor AI support mobile editing?
Yes, Fotor AI is available on both desktop and mobile apps for editing on the go.
What file formats can I export my images in?
Fotor AI supports JPG, PNG, and PDF formats for high-quality downloads.
Conclusion
Fotor AI is the perfect editing tool for beginners, offering an easy-to-use interface and powerful AI features that simplify photo editing. Whether you’re enhancing portraits, creating social media graphics, or designing marketing materials, Fotor AI provides a seamless editing experience. Start using Fotor AI today and transform your photos effortlessly!